Repairing your inflatable bounce takes just 5 steps.
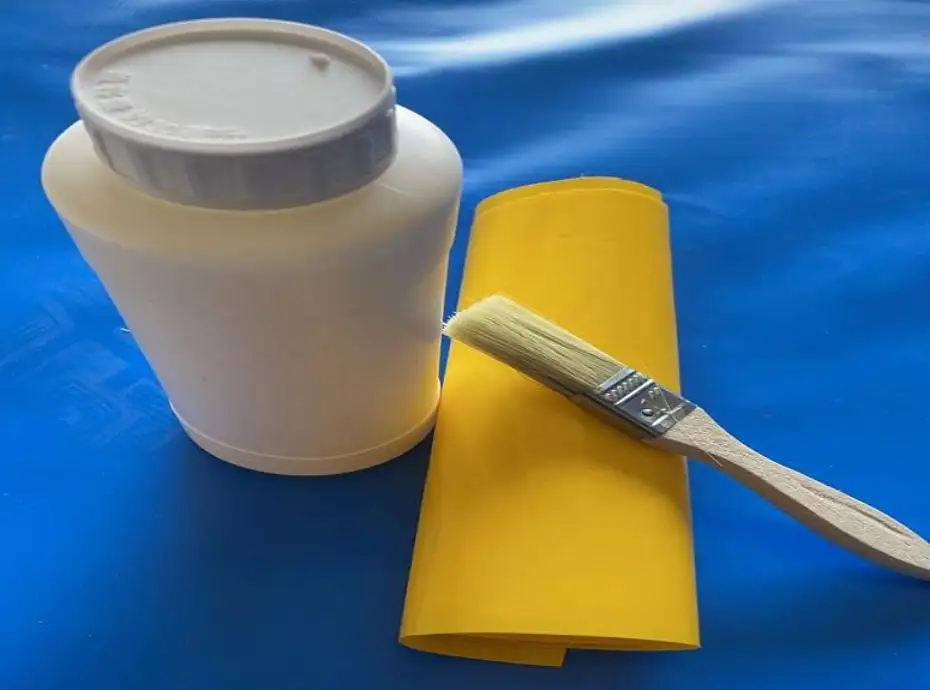
1. Tools and materials: You’ll need special glue for inflatable models (usually provided by the manufacturer), a pre-cut patch (PVC or Oxford cloth, preferably three times the size of the damaged area, round or oval), a hair dryer, and a cleaning cloth.
2. Cleaning and Sanding: Wipe the area to be repaired and the patch clean with a clean cloth. If the surface is smooth, gently roughen it with sandpaper or a wood file to increase the bond strength.
3 . Gluing: Apply the special glue evenly to the damaged area and the patch. A thin layer is recommended, not too much. Wait a few minutes for the glue to dry naturally until it’s no longer sticky. You can also use a hair dryer on the cool or cold setting to speed up the drying process.
4. Heating and Adhesive: This is a crucial step. Use a hair dryer on the hot setting to gently warm the area and patch to activate the glue, ensuring a secure bond. Then, align the patch with the repaired area and slowly apply it from one side, being careful not to stretch or tear the surrounding tissue. Press carefully with your hands to remove any air bubbles.
5 . Compacting and Curing: After applying, press down on the patch with a heavy, flat object for a while to ensure a complete bond. After applying, it’s best to wait 24 hours before inflating the adhesive to allow it to reach full strength.